반응형

플러그인에 기본으로 있는 remove버튼을 사용해도 되었지만
버튼을 클릭해서 다른 이벤트를 주고 싶다던가
버튼의 css를 변경하고 싶은경우가 생겨 부득이하게 새로운 버튼을 생성하게 됨.
1. 먼저 삽입할 버튼의 html을 선언한다.
var dz_delete_button = '<button type="button" class="btn btn-danger btn-xs dz-delete-btn"><span class="glyphicon glyphicon-trash"></span> 삭제 </button>';
2. dropzone의 이벤트 안에 Element를 추가한다.
file_dropzone.on('addedfile', function (file) {
		var remove_button = Dropzone.createElement(dz_delete_button);
        var _this = this;

        remove_button.addEventListener('click', function (e) {
             e.preventDefault(); // click이벤트 외의 이벤트 막기위해
             e.stopPropagation(); // 부모태그로의 이벤트 전파를 중지

             // 파일 업로드시 장애가 발생한 경우
             if (file['status'] != 'error') {

                // Send Client Event Delete

              }
              _this.removeFile(file);
          });
          file.previewElement.appendChild(remove_button);
});
3. css변경이 필요하다면 해당버튼에 클래스를 주고 스타일을 부여하면 적용된다.
.dropzone .dz-delete-btn {
	position : absolute;
	bottom: 0;
	left : 0;
	margin : 0 !important;
	width: 100%;
}
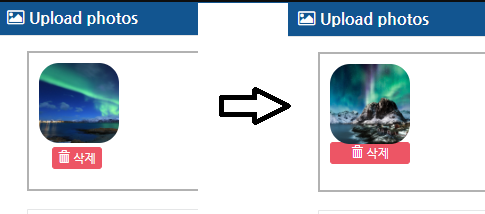
4. 썸네일의 border-radius 값변경
.dropzone .dz-preview .dz-image 의 기본 radius값은 20으로 되어있으므로 원하는 값으로 css 변경하면된다.
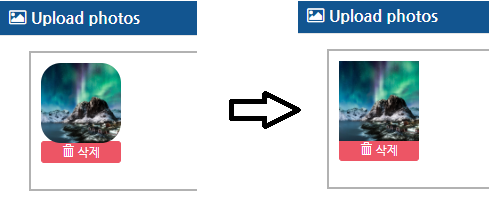
.dropzone .dz-preview .dz-image {
	border-radius: 0 !important;
}
반응형
'IT' 카테고리의 다른 글
| [파워목업] PowerMockup 설치 및 사용방법 (0) | 2019.09.24 |
|---|---|
| [PHP] 유튜브 동영상 정보추출 ver.2019 (0) | 2019.09.16 |
| [JSON] Json Parser Online - Json 변환 (0) | 2018.03.16 |
| [MySQL] 문자열 자르기, 합치기, 치환하기 (0) | 2018.02.09 |
| [jQuery]select박스 (2) | 2017.04.26 |